Every boat should have a name that reflects an owner’s personality. It could be a nod to the breadwinner’s profession, an inside joke, or a tribute to a special person in the owner’s life. A named boat is a personal statement that brings life to the most special, inanimate thing you own.
The first tip in naming a boat is don’t give it a name you’d be embarrassed to tell your mother. Keep in mind you may have to call the U.S. Coast Guard someday and repeat that name over the channel 16 radio frequency for all to hear.

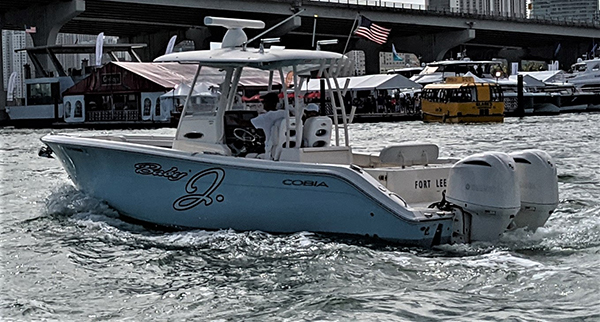
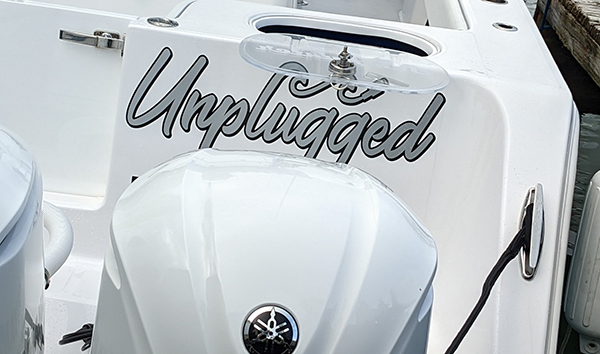
Once you’ve decided on a name, how do you make it a reality? Before creating your design, inspect your boat and pick the location where you’ll put it. Although most boats traditionally have the name on the transom, because outboards obscure the view, the best place for Yamaha-powered boat names is on the side.
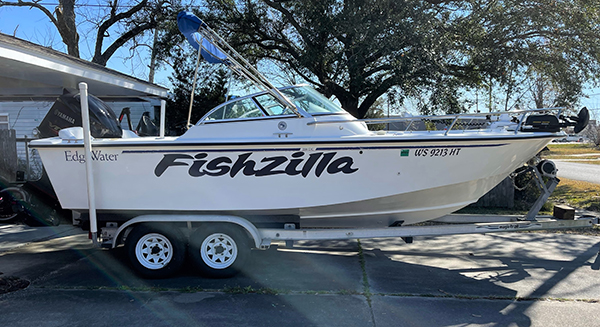
For the best visibility, choose letters and graphics with high contrast and avoid overly busy designs or weird fonts that confuse the eye.

Once you’ve decided on the basic parameters, head to the computer. Online, you’ll find many companies that will help you design the perfect presentation for your boat’s name. Most websites take you through the creative process one step at a time and offer lots of fonts, colors, designs and graphics to help you come up with the perfect design. Most people will be shocked at how affordable it is to add a name to a boat.
While deciding on the perfect name is the hard part, executing the act is surprisingly easy for do-it-yourselfers. Vinyl letters come sandwiched between two sheets of backing paper and there are two methods to transfer the vinyl lettering and graphics to a boat’s hull.

The Dry Method
The dry method is a quick peel and stick process that is ideal for decals less than three feet long. You’ll need painter’s tape, a pair of scissors and a decal squeegee, which is a stiff plastic rectangle slightly larger than a credit card that should come with your order.
The Wet Method
The wet method is preferable for larger decals and is a two-person job that should be undertaken in temperatures between 60-85 degrees (follow the manufacturer’s recommendation), in the shade with no wind blowing.

Wraps
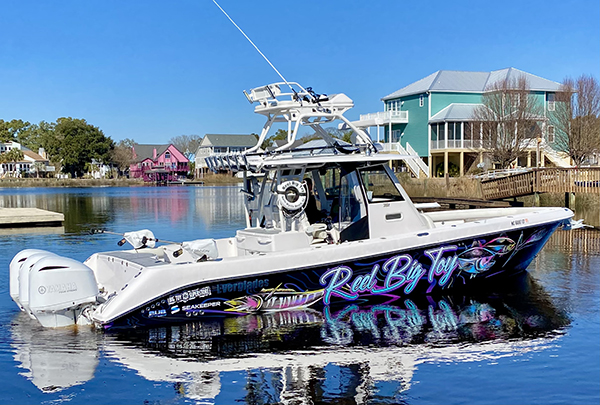
Wraps are full-hull, vinyl coverings that should only be installed by professionals. Wraps often make a bold statement and have, for the most part, replaced custom paint jobs. The best part of a wrap is that after a couple of years if you want an entirely new look, it’s easy to replace them. Because wraps are computer-generated, if a section gets damaged, a partial replacement can be created for a fraction of the cost of a new wrap.
Naming your boat gives your most prized possession a personality of its own and helps make it a part of the family.
Back to Blue Life
The first tip in naming a boat is don’t give it a name you’d be embarrassed to tell your mother. Keep in mind you may have to call the U.S. Coast Guard someday and repeat that name over the channel 16 radio frequency for all to hear.

Once you’ve decided on a name, how do you make it a reality? Before creating your design, inspect your boat and pick the location where you’ll put it. Although most boats traditionally have the name on the transom, because outboards obscure the view, the best place for Yamaha-powered boat names is on the side.
For the best visibility, choose letters and graphics with high contrast and avoid overly busy designs or weird fonts that confuse the eye.

Once you’ve decided on the basic parameters, head to the computer. Online, you’ll find many companies that will help you design the perfect presentation for your boat’s name. Most websites take you through the creative process one step at a time and offer lots of fonts, colors, designs and graphics to help you come up with the perfect design. Most people will be shocked at how affordable it is to add a name to a boat.
While deciding on the perfect name is the hard part, executing the act is surprisingly easy for do-it-yourselfers. Vinyl letters come sandwiched between two sheets of backing paper and there are two methods to transfer the vinyl lettering and graphics to a boat’s hull.

The Dry Method
The dry method is a quick peel and stick process that is ideal for decals less than three feet long. You’ll need painter’s tape, a pair of scissors and a decal squeegee, which is a stiff plastic rectangle slightly larger than a credit card that should come with your order.
- Clean and dry the area thoroughly.
- With the backing still in place, place two pieces of masking tape at the top toward each end of the decal on the non-adhesive side.
- Use a ruler to measure the distance below something straight on your boat like the rubrail and place it in its intended location. Step back and make sure it looks straight because once it’s applied, it’s irreversible.
- Once it’s properly positioned, take a long piece of painter’s tape and place it vertically over the middle of the decal to firmly hold it in place then take the piece of tape off one of the corners.
- Hold the non-taped end of the decal with one hand and peel the backing off with the other hand.
- When the backing is peeled back to near the center, cut the loose backing off with the scissors.
- Take the squeegee and start in the middle to firmly press down the letters, making sure all bubbles are gone.
- When the first half is down, take the masking tape off the other end and peel the rest of the backing off, holding the decal away from the boat. Starting in the middle, press the letters down with the squeegee.
- After the decal is in place, slowly peel the top backing off against itself; don’t pull it straight away from the hull.
The Wet Method
The wet method is preferable for larger decals and is a two-person job that should be undertaken in temperatures between 60-85 degrees (follow the manufacturer’s recommendation), in the shade with no wind blowing.
- Clean and dry the surface where the decal will be applied.
- Mix 4 drops of liquid dish soap in a ½ quart of water in a spray bottle and just before you are ready to apply the decal, spray the solution on the hull where the application will occur.
- Lay the decal down on a flat surface, holding it from each end, and slowly peel the adhesive-side backing paper off. Don’t touch the adhesive on the lettering.
- Spray the exposed adhesive side with the soapy water mixture, which will allow the decal to slide around on the hull and allow the installers time to properly position it.
- When the decal is properly placed and is being held in place by the helper, use the squeegee, starting in the middle, and press down firmly to squeeze the water and air out, making sure all bubbles are eliminated. Repeat on the other side.
- Let the decal dry for 1-2 hours (more if the humidity is high) and then slowly pull the backing paper off the top against itself, never straight away from the hull.

Wraps
Wraps are full-hull, vinyl coverings that should only be installed by professionals. Wraps often make a bold statement and have, for the most part, replaced custom paint jobs. The best part of a wrap is that after a couple of years if you want an entirely new look, it’s easy to replace them. Because wraps are computer-generated, if a section gets damaged, a partial replacement can be created for a fraction of the cost of a new wrap.
Naming your boat gives your most prized possession a personality of its own and helps make it a part of the family.
Back to Blue Life
