 Maintenance
 Engine Oil<br>& Lube
 Lower<br>Unit
 Fuel &<br>Fuel System
 Power Trim<br>& Tilt
 Electrical<br>System
 Corrosion<br>Prevention
 Extended<br>Storage
 Propeller<br>Solutions
 External<br>Appearance
 Additional<br>Tasks
TAKE CHARGE OF YOUR ELECTRICAL SYSTEM
 Because boats are constantly on or near water, electrical system care is even more important, especially in highly corrosive saltwater environments. Let’s take look at the simple steps and products that can keep your electrical system at optimal performance.
CHOOSE YAMALUBE
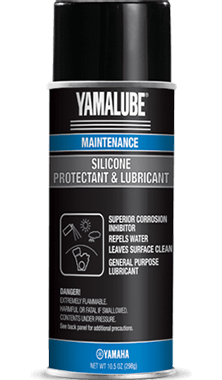
Very effective in a marine environment, this general-purpose lubricant helps to protect metals against rust and corrosion. Also conditions and protects neoprene, rubber, and other surfaces from environmental effects.
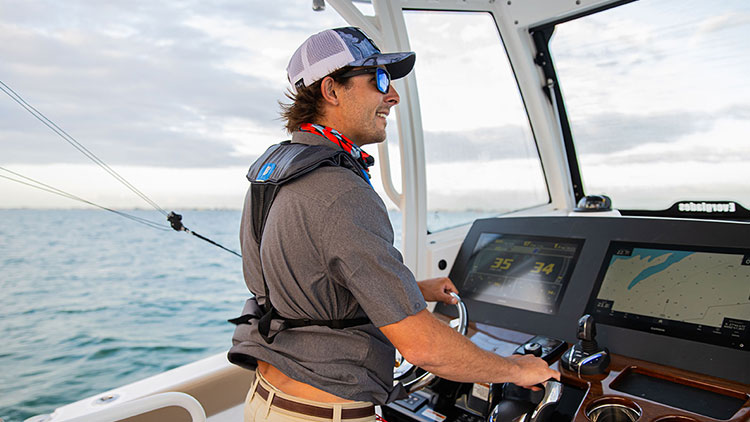
Today’s modern outboards and onboard electronics require juice to run. That’s why your electrical system is one of the most important systems on your boat.
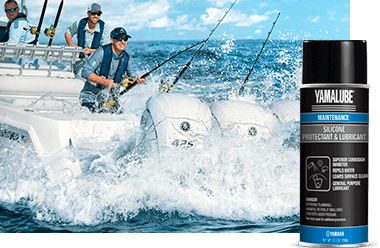
Protect it from the relentless corrosion marine environments are known for with products formulated for use on the water. Sprays like Yamashield and Yamalube Silicone Protectant & Lubricant are engineered to withstand moisture for lasting corrosion protection.
DO IT YOURSELF
Corrosion impedes electricity’s ability to travel, which can cause significant voltage loss or intermittent voltage. Either can wreck the good times, but with simple visual inspections and physical actions these scenarios can usually be avoided.
Spotting corrosion. Some electrical corrosion can be easy to see, such as corrosion on battery posts or electrical panel connections. But some can be more difficult to see, such as internal corrosion that has rotted some or all the individual strands inside a wire’s cover. You can use an ohmmeter to check electrical connections and wires for excessive resistance. There should be no more than 0.1-0.2 ohm resistance between electrical connectors on each end of a wire.
The starting battery. Make sure to use the size and type in your owner’s or service manual. If there’s any question about a battery’s performance, have it load tested. Any auto parts store can do this, or you can do it yourself with the right equipment.
The house battery. Most larger boats that have multiple electrical demands also have house batteries. They ensure that a boat with high electrical loads won’t drain the starting battery when in use and leave a boater stranded. Many large Yamaha outboards (150hp and up) have a separate battery isolator/charging leads specifically for charging these batteries. The charging system will be able to charge the starting battery/batteries first to help keep the voltage up. Once fully charged, it will automatically “switch” the charge to the house battery/batteries.
Battery connections. All battery cable connections must be clean, tight and use hex nuts and lock washers (not old-fashioned wing nuts). Loose connections can cause frustrating intermittent issues or a full-time “no run” condition. A dirty or corroded connection can impede electricity’s ability to travel, and a battery terminal connection may be corroded, yet appear clean. To avoid any doubt, always remove the terminal connection and clean both sides of the connecting materials down to bare, shiny metal, then reinstall and tighten the connection properly.
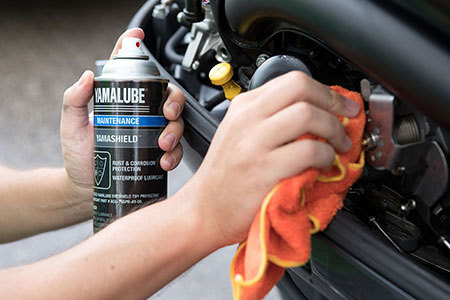
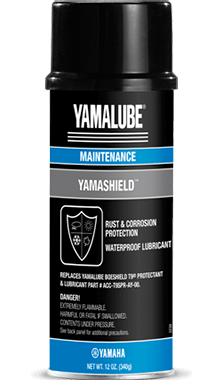
Checking connections. Corrosion often occurs where wires meet. Visually check electrical blocks under the dash and/or in the bilge. Also, check any connections on gauges or add-on electrical equipment like battery switches, plotters, or fish-finders. Wiggle wires and connections to check for looseness. If either is found, disconnect and clean the connection with emery cloth or fine-grit sand paper, then reinstall and tighten. Finally, spray all electrical connections with a product like Yamashield which puts down an anti-corrosive layer and leaves behind a protective film that helps prevent corrosion.
Don’t spare the spray. Remove the outboard cowling and liberally spray the entire powerhead with Yamashield or Yamalube Silicone Protectant & Lubricant. It will help prevent corrosion and keep rubber parts (like your cowling seal) supple and effective.
NOTE: Do not spray silicone on any oxygen (O2) sensors that your outboard may have.
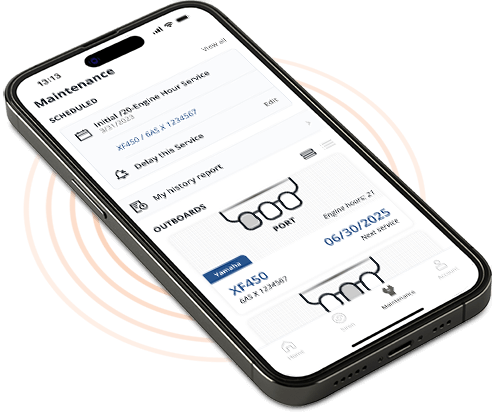
DOES YOUR ELECTRICAL SYSTEM NEED A ONCE OVER?
Know instantly with the Siren Connected Boat<sup>™</sup> AppWhen was the last time you checked your battery charge or cleaned your connections? Stay on top of your maintenance with the Siren Connected Boat app. It tracks DIY and dealer-completed service right on your smartphone.